Short answer
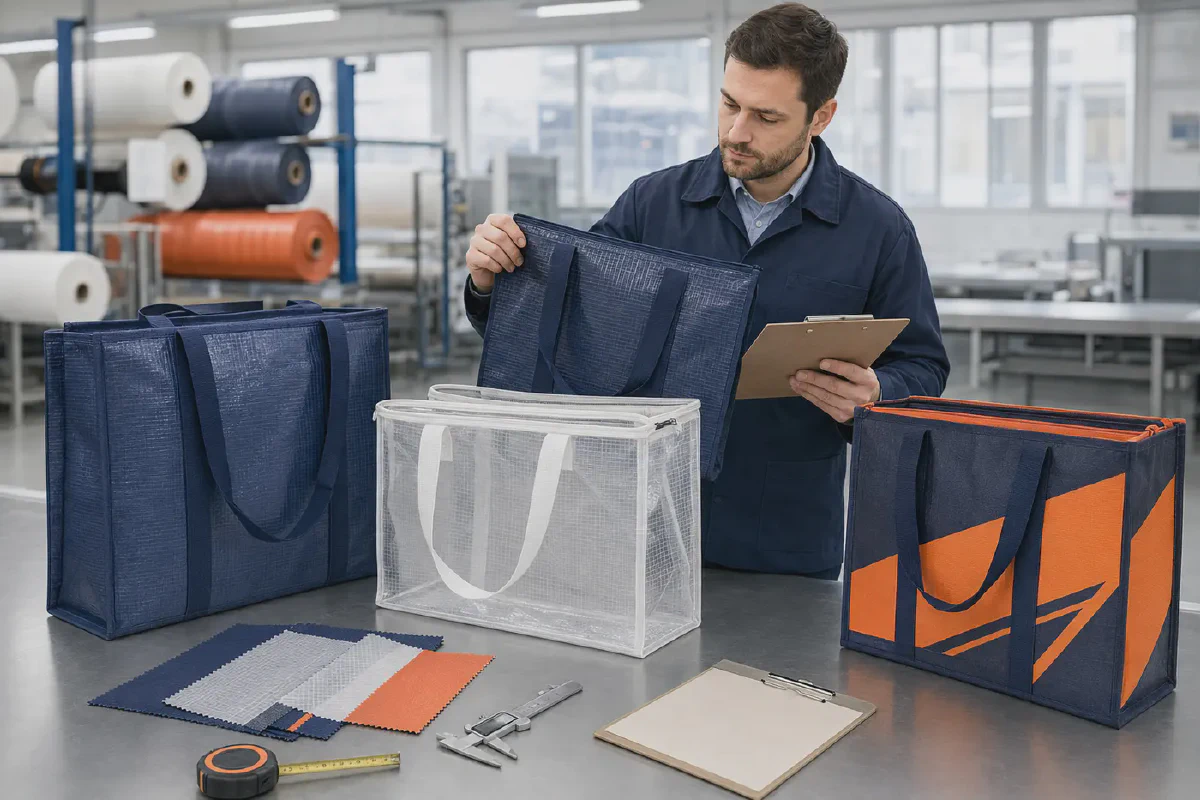
A reliable PP woven bag inspection compares a defined production lot with one controlled acceptance package: the approved sample, current specification, artwork, packing standard and agreed test methods. The inspection should verify quantity, identity, material, finished dimensions, workmanship, handles, closures, printing, finished-bag performance and export packing.
Do not rely on appearance alone. A bag can look correct while using a different woven base, shorter handle attachment, weak zipper end or incorrect fold count. Conversely, an inspector should not reject production for an undocumented preference. Tolerances, sampling and defect classifications need to exist before bulk goods are inspected.
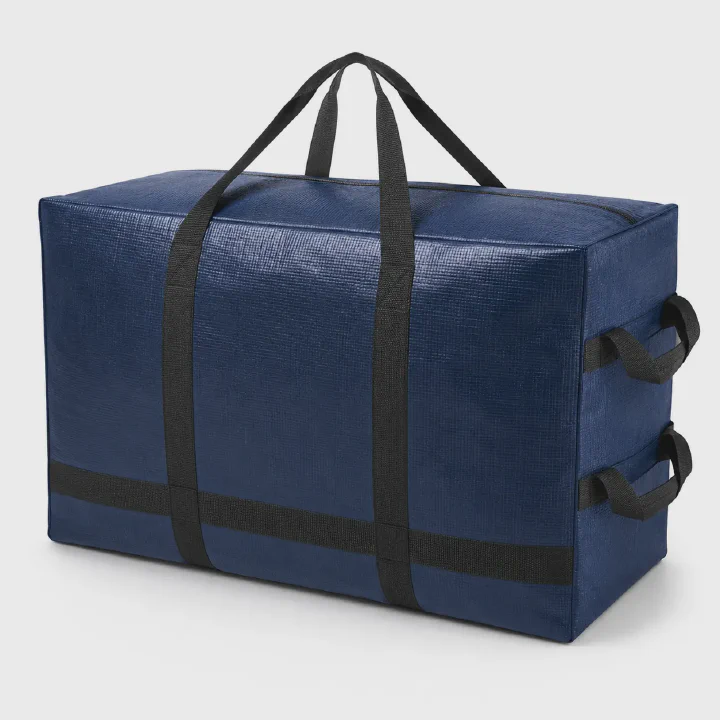
Before inspection, lock the design inputs using the handle-strength specification guide and the custom printed woven bag artwork guide. For relocation products, compare the approved sample with the selected heavy-duty moving bag construction.
1. Build the inspection basis before production
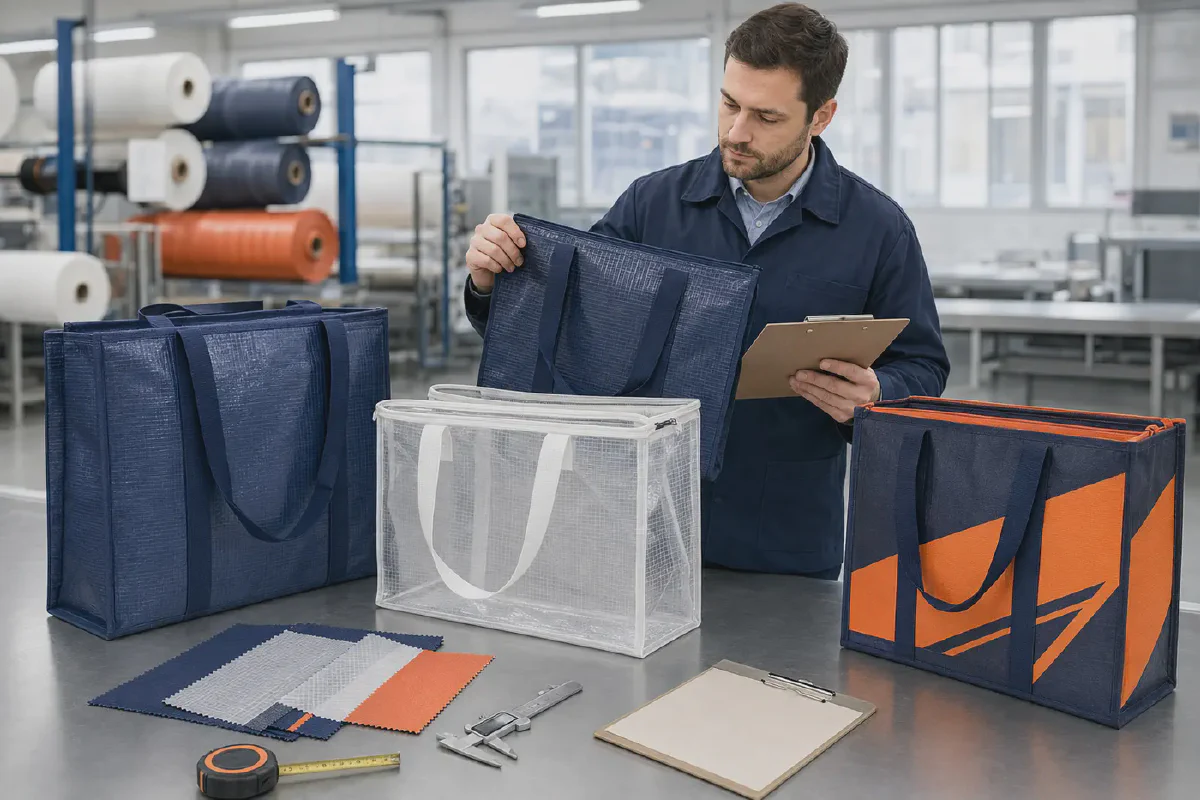
Inspection cannot repair an incomplete purchase specification. Before material is converted, consolidate the requirements into a revision-controlled package that both buyer and supplier can identify.
The package should include:
- purchase order and product code;
- finished width, height and gusset with tolerances;
- woven base, coating or lamination, color and surface requirements;
- handle material, width, drop, position, attachment and load path;
- seam, binding, closure and component construction;
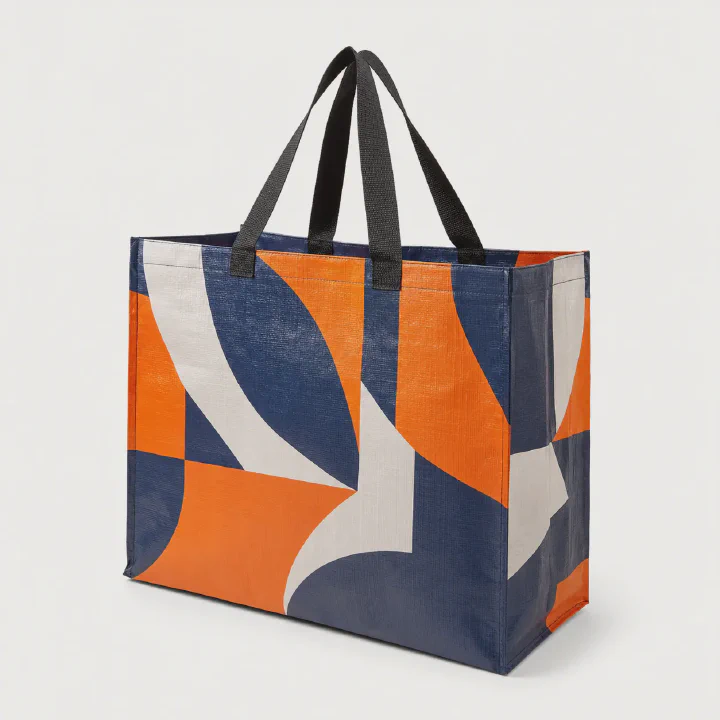
- approved artwork, print position and color reference;
- finished-bag performance tests and pass criteria;
- folding, bundle, carton, label and pallet instructions;
- destination-specific marking or compliance requirements; and
- a signed production-intent sample or clearly identified golden sample.
If a sample and drawing differ, the documents must state which controls. A sample is useful for construction and appearance, but it cannot communicate every tolerance or hidden material requirement. A specification is measurable, but it may not show the desired hand feel, gloss or packed presentation. They work together.
Control revisions, not email history
Late changes to dimensions, webbing color, logo position or carton count are common sources of disputes. Put the current revision and approval date on the specification, artwork and packing sheet. Withdraw obsolete versions from the factory floor and inspection team. An inspector should never have to decide which of several attachments is current.
2. Define the lot and sampling plan
First define what constitutes one inspection lot. Production made with different body colors, print versions, sizes, closures or packing methods should not automatically be pooled. Mixing unlike SKUs can hide a defect concentrated in one variant.
A sampling plan should state:
- the recognized inspection standard or buyer-defined method;
- lot size for each SKU or homogeneous group;
- inspection level and sample size;
- critical, major and minor acceptance limits;
- special samples required for destructive or performance tests; and
- rules for reduced, normal, tightened or reinspection status, if used.
There is no responsible universal AQL for every woven bag. A promotional tote, a reusable supermarket program and a high-load commercial moving bag carry different risks. The buyer should select limits based on function, destination, brand exposure, replacement cost and contractual requirements.
Select cartons and units randomly
Samples should come from different positions in the finished lot, not only cartons prepared for inspection. Record carton numbers or selection locations. Draw units across cartons and layers so early, middle and late production are represented where practical.
If the factory has segregated rework, replacement pieces or multiple production lines, the report should explain how those units entered the lot. Random selection loses value when the available population has been curated.
3. Classify defects before counting them
Defect classification describes consequence, not how visually noticeable a defect appears.
| Defect class | Practical meaning | Possible woven-bag examples* |
|---|---|---|
| Critical | Unacceptable safety, legal or destination-market risk | Sharp exposed component; prohibited contamination; incorrect mandatory warning or traceability code |
| Major | Likely functional failure, customer rejection or substantial loss of use | Open seam; detached handle stitching; non-operating zipper; wrong size outside tolerance; wrong artwork; failed agreed load test |
| Minor | Departure from the approved standard without material loss of normal function | Limited loose thread; small approved-area cosmetic mark; slight non-critical stitch irregularity |
*Examples must be adapted to the actual product and contract. The same condition can change classification depending on use. A loose thread may be cosmetic on one bag but serious if it opens a load-bearing seam.
Create a defect catalogue with photographs where repeated purchasing justifies it. Describe location, extent and allowed limit. “Poor workmanship” is too subjective to support consistent decisions.
4. Follow a repeatable inspection sequence
A practical final random inspection usually proceeds in this order:
- Confirm order identity, lot completion and packed quantity.
- Check export cartons, marks, labels and visible transit condition.
- Select cartons and finished bags randomly.
- Compare overall appearance with the approved sample.
- Measure dimensions and construction details.
- Inspect material, seams, handles, closures, printing and accessories.
- Perform agreed functional and finished-bag tests.
- Verify folding, piece count, inner packing and carton data.
- Classify and count defects, then issue a traceable report.
Some performance tests require more time or equipment than a final visit permits. Those tests should be scheduled as in-process or laboratory controls rather than silently omitted.
5. Verify identity and material construction
“PP woven” is not a complete material specification. Confirm that production matches the approved woven base, coating or laminated film, surface, color and intended construction.
Inspection may combine:
- comparison with retained approved swatches;
- supplier batch records or material certificates;
- defined mass-per-area testing where specified;
- visual weave, film and surface examination;
- color comparison under agreed lighting; and
- odor or contamination checks where relevant.
If GSM is controlled, document the test method, conditioning, specimen location, number of readings and whether the value covers the woven base alone or the complete laminated composite. One total weight can conceal a different balance between structural woven material and outer film.
Check the finished body for holes, delamination, bubbles, creases, abrasion, color variation, contamination and unintended transparency. Judge appearance in the context of the approved material: woven surfaces naturally show texture and should not be held to an unstated rigid-plastic standard.
6. Measure finished dimensions consistently
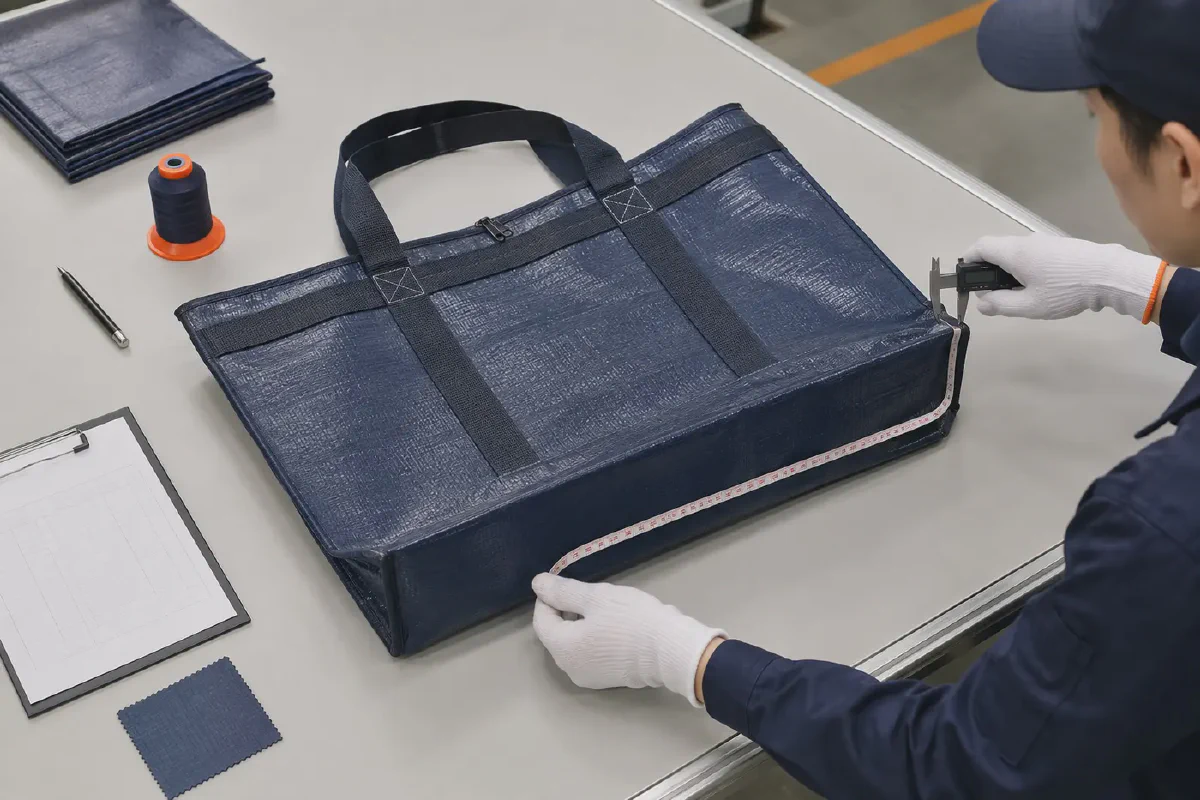
State whether width, height and gusset are measured flat, formed or externally on a lightly filled bag. Define whether material is relaxed or lightly tensioned. Use the same convention for sample approval and bulk inspection.
Record at least:
- finished width;
- finished height;
- side or bottom gusset;
- opening width and zipper path where relevant;
- handle drop and handle spacing;
- webbing width and attachment length;
- print position from defined reference edges; and
- pockets, windows, tabs or inserts where fitted.
Record individual readings, not only an average. A correct average can hide units beyond tolerance on opposite sides of the target. Also inspect symmetry: equal dimensions do not guarantee that a handle pair, print or zipper is centered.
7. Inspect seams, binding and workmanship
Open the bag and examine both external and internal construction. Important conditions include:
- skipped, broken, loose or uneven stitches;
- insufficient seam allowance or material caught incompletely;
- raw edges where binding is required;
- seam puckering, twisting or gusset misalignment;
- holes from repeated needle penetration;
- unsecured thread ends at load-bearing locations;
- poor corner formation or exposed insert edges;
- oil, dust, foreign matter, insects or objectionable odor; and
- sharp points or components that could contact the user or contents.
Stitch count by itself is not a strength guarantee. Thread, needle damage, stitch pattern, attachment area, webbing and base material interact. Compare the complete seam with the approved production-intent sample and load test.
8. Inspect handles as a load path
The handle system transfers the load through webbing, stitches, panels, seams and sometimes the base. Verify more than handle length.
Check:
- webbing material, width, color and hand feel;
- handle drop, spacing, orientation and pair symmetry;
- attachment length and specified stitch pattern;
- back-tacking or reinforcement at stitch ends;
- wraparound path and continuity around corners;
- interference with zipper, print, pockets or opening; and
- side, shoulder or backpack handles where specified.
Pull each handle in the direction of intended use and look for stitch opening, webbing movement, panel distortion or local tearing. A visual tug is only a workmanship check; it does not replace the agreed finished-bag load test.
See How to Specify Handle Strength for Moving Bags for the design inputs that should be fixed before inspection.
9. Operate zippers and other closures
Test every closure in the inspection sample as required by the sampling plan. For zippers, examine tape attachment, slider count and orientation, end stops, corner path and reinforcement. Operate the zipper through its full travel with the bag shaped as intended.
Reject or record conditions such as:
- slider jamming or separation;
- teeth or coil damage;
- tape caught in stitching;
- opening too short for the approved use;
- weak or unfinished zipper ends;
- closure misalignment; or
- excessive tension when the approved load is packed.
For hook-and-loop, tabs, drawcords, buckles or snaps, verify mating position, attachment and repeat operation. Components should be evaluated as installed, not merely identified by supplier name.
10. Check artwork, color and print durability
Confirm the artwork revision before judging appearance. Compare logo, text, orientation, print area and position with a dimensioned approval. Check both sides when artwork differs.
The print review should cover:
- correct design, language and SKU;
- color against the agreed standard under controlled light;
- registration and alignment;
- pinholes, missing ink, smearing or contamination;
- interference from seams, folds, webbing or gussets;
- adhesion or rub resistance using the agreed method; and
- barcode or machine-readable data verification where applicable.
Do not approve color from unrelated phone photographs. Screens, camera processing and ambient lighting shift appearance. Use a physical reference or defined color target and agree what instrument or visual tolerance controls.
For file preparation and print-zone decisions, see the Artwork Guide for Custom Printed Woven Bags.
11. Test the complete finished bag
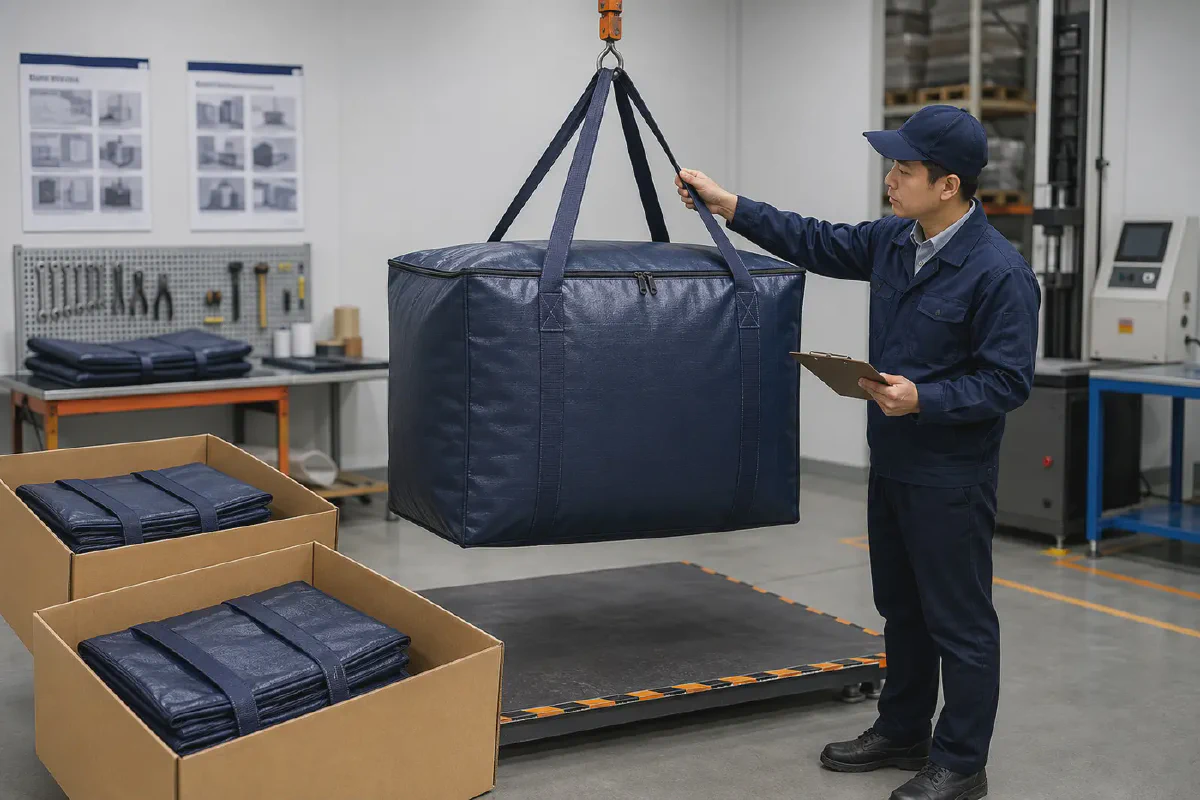
Material data does not prove finished-bag performance. The weakest point may be a handle end, seam, zipper corner or local panel area. Write the test method so another inspector can reproduce it.
A finished-bag load test should define:
- representative contents or controlled load blocks;
- total test weight and distribution;
- whether the closure is open or closed;
- handles or lifting points used;
- lift height, hold time, repetitions or handling route;
- conditioning or pre-test state; and
- pass criteria after the test.
Pass criteria may address seam opening, broken stitches, webbing movement, body tearing, zipper separation, permanent distortion and continued usability. The chosen load should follow the product’s real working condition and buyer-selected verification margin; avoid universal claims detached from bag size and construction.
Other functions may require separate tests: zipper cycling, print rub, wipe cleaning, low-temperature handling, base-insert fit or repeated folding. Define only tests relevant to the purchase.
12. Treat moisture claims carefully
A laminated surface may resist light incidental moisture better than an unlaminated surface, but seams, needle holes, zipper paths and openings remain separate routes. “Waterproof” should not be accepted from material appearance alone.
If moisture performance matters, define the finished-bag exposure: splash, wipe, damp-floor contact, rain duration, water column or another relevant condition. State orientation, time and permitted ingress. Inspect after exposure for delamination, print change, seam leakage and retained function.
13. Verify packing and export readiness
Packing is part of the product. An approved bag can reach the customer creased, contaminated, short-counted or mislabeled if packing control is weak.
Check:
- bag folding direction and final folded size;
- zipper and handle position during folding;
- individual bag, bundle, polybag or paper protection;
- pieces per bundle and carton;
- assortment ratio by color, size or artwork;
- carton dimensions, gross and net weight where specified;
- shipping marks, product labels, barcodes and destination data;
- carton board, closure, straps and pallet pattern; and
- carton cleanliness, damage and moisture exposure.
Open cartons from different lot positions and count the contents. Compare packed presentation after recovery from the carton, because tight compression can create unacceptable folds, print transfer or deformed components.
14. Write a report that supports a decision
An inspection report should allow a buyer who was not present to understand exactly what was examined.
Include:
| Report field | Required evidence |
|---|---|
| Order identity | Buyer, supplier, PO, SKU, description and revision |
| Lot status | Offered quantity, packed quantity, cartons and completion status |
| Sampling | Standard or method, level, sample sizes and carton selection |
| Measurements | Individual readings, tolerance and pass/fail result |
| Defects | Description, class, count, affected SKU and photographs |
| Tests | Equipment, condition, method, result and post-test observations |
| Packing | Counts, folds, labels, carton data and visible condition |
| Disposition | Pass, fail, hold or buyer decision required |
Photographs should include an overall view and close-up, with scale and location where useful. Avoid a folder of unlabeled images that cannot be linked to units or defect counts.
15. Release, rework and reinspection
Inspection findings should lead to a controlled disposition:
- Pass: the lot meets the agreed sampling and test criteria.
- Fail: acceptance limits or critical requirements are exceeded.
- Hold: information, test results or buyer disposition is pending.
- Conditional acceptance: only when the buyer records the exact deviation and commercial or corrective conditions.
When rework is required, define the affected population, rework method, responsible party and reinspection scope. Replacing visible defective samples is not a valid correction if the remaining lot was not screened or the root cause continues.
Keep concessions written and SKU-specific. A one-time approval should not silently change the standard for later orders.
Copy-ready PP woven bag inspection checklist
Documents and lot
- PO, SKU and specification revision match.
- Approved sample, artwork, color and packing references are available.
- Lot and SKU quantities are complete and segregated.
- Sampling plan and defect classes are confirmed.
Product
- Woven base, lamination, surface and color match approval.
- Width, height, gusset, handle drop and key positions meet tolerance.
- Seams, binding, corners and interiors are complete and clean.
- Handles match material, path, position and stitch pattern.
- Zippers or other closures operate through the full path.
- Artwork, print position, color and durability meet approval.
- Pockets, windows, inserts, labels and accessories are correct.
Performance and packing
- Finished-bag load or handling test passes the agreed method.
- Relevant zipper, rub, cleaning or moisture tests pass.
- Folding, assortment, inner packing and counts are correct.
- Carton size, weight, marks and condition are verified.
- Defects, readings, photographs and deviations are traceable.
Common inspection mistakes
Avoid these recurring errors:
- inspecting against a showroom sample rather than the production revision;
- using one generic AQL without considering product risk;
- reporting averages instead of individual measurements;
- checking fabric certificates but not the assembled load path;
- testing a bag with an undefined weight or unrealistic load shape;
- approving print color from uncontrolled screen images;
- counting defects without pre-agreed classifications;
- overlooking inner packing and carton count; and
- accepting unrecorded deviations to meet the shipping date.
Final recommendation
Treat quality control as part of product specification, not a last-minute visual check. Before production, align the signed sample, measurable requirements, sampling plan, defect definitions and finished-bag tests. During inspection, preserve random selection and record evidence unit by unit. Before shipment, make the release decision from the agreed standard—not from pressure, assumption or an undocumented preference.
A concise specification plus a reproducible inspection method protects both buyer and supplier: the factory knows what to build, the inspector knows what to measure and the buyer receives evidence that the shipped lot matches the approved product.