Short answer
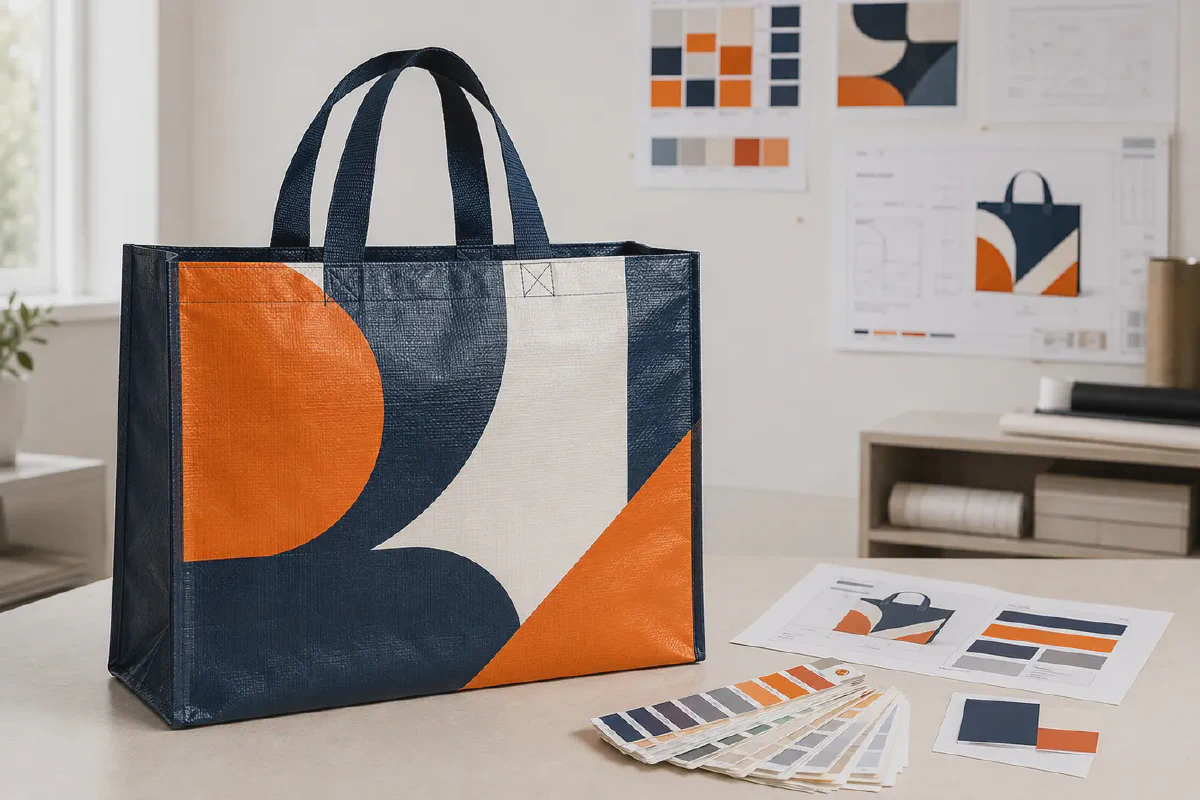
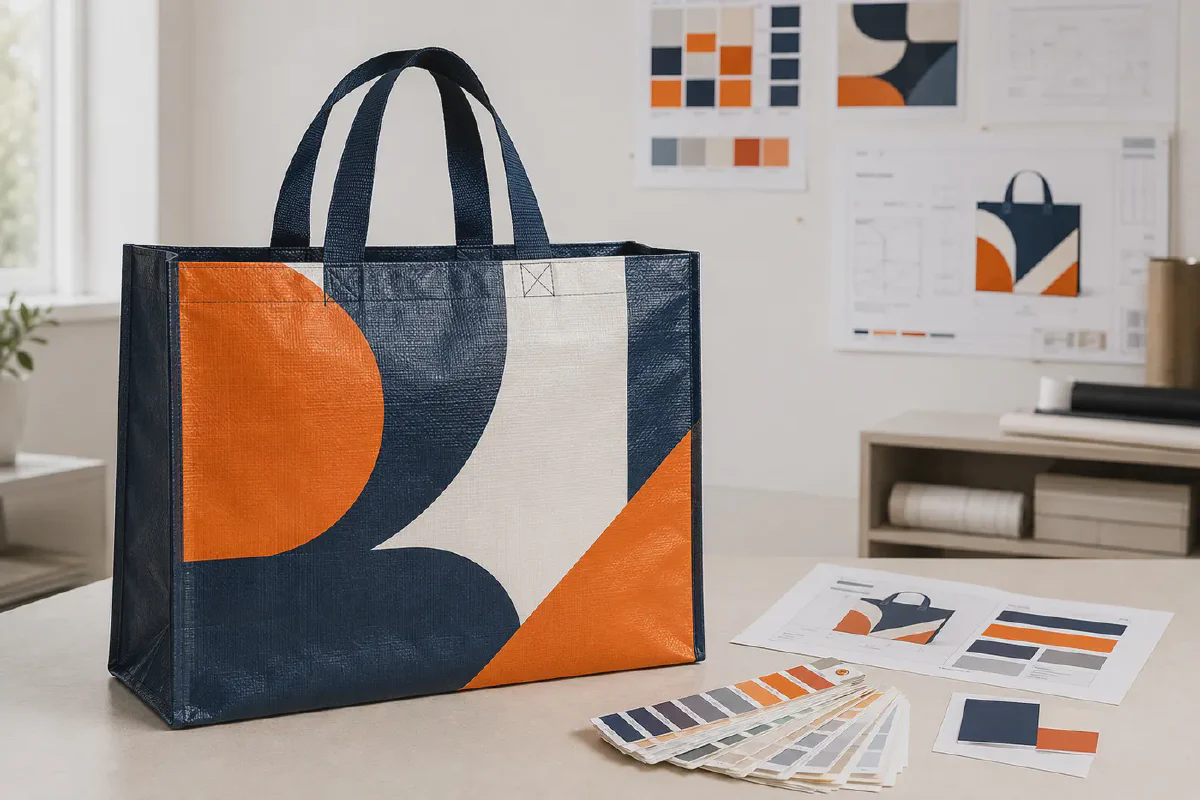
A production-ready woven-bag artwork package must tell the factory what to print, how large it should be, where it belongs, which colors to match and which revision is approved. Send editable vector files, a panel-by-panel placement drawing, named color references and a rendered bag view. Mark seams, gussets, binding, zippers and handle attachments as exclusion zones.
The correct preparation depends on the printing method. A one-color logo printed directly onto woven material has different limits from a full-coverage graphic printed on film and laminated to the bag. Confirm the process before finishing small text, gradients, barcodes or edge-to-edge artwork. When appearance matters, approve a physical proof or production-intent bag rather than relying on an image sent through chat.
Start by selecting the intended custom printed woven bag construction. The laminated versus unlaminated comparison explains how the chosen surface changes artwork preparation and approval.
What must a buyer send to the supplier?
Sending only a logo is not enough. The factory still has to decide its size, position, orientation, color conversion and relationship to the bag construction. Every unconfirmed decision creates an opportunity for delay or a result that differs from the buyer’s expectation.
Use a compact artwork package containing the following files and instructions:
| Item | What it should contain | Why it is needed |
|---|---|---|
| Master artwork | Editable vector logo, text and graphics | Preserves shape and allows process preparation |
| Linked assets | High-resolution images and required references | Prevents missing or low-resolution content |
| Color specification | Spot-color name, CMYK values or physical reference | Defines how production color will be judged |
| Placement drawing | Panel, size, position, orientation and exclusions | Removes guesswork at the factory |
| Bag rendering | A simple front, back and side visualization | Helps commercial and production teams confirm intent |
| Construction drawing | Finished dimensions, gussets, seams, binding and handles | Connects artwork to the physical bag |
| Approval record | Revision number, date, approver and status | Prevents an old version from entering production |
Name files clearly. A practical structure is project-bag-panel-revision-date, for example campaign-tote-front-R03. Avoid filenames such as final, final-new or latest2; they do not prove which version was authorized.
Choose the print method before finalizing artwork
Custom PP woven bags can be decorated by different processes. The supplier should confirm the available method for the chosen body, finish, order quantity and visual requirement. Artwork that works for one process may not reproduce well in another.
Direct surface printing
Direct printing is commonly considered for simple logos, limited colors and moderate coverage. The woven surface can influence edge sharpness and ink lay. Fine reversed text, hairlines, delicate screens and subtle gradients may not reproduce as they appear on a monitor.
Ask for the supplier’s minimum line, gap and text guidance for the actual process. These are production limits, not universal values, and should be confirmed rather than copied from another supplier’s specification.
Printed film with lamination
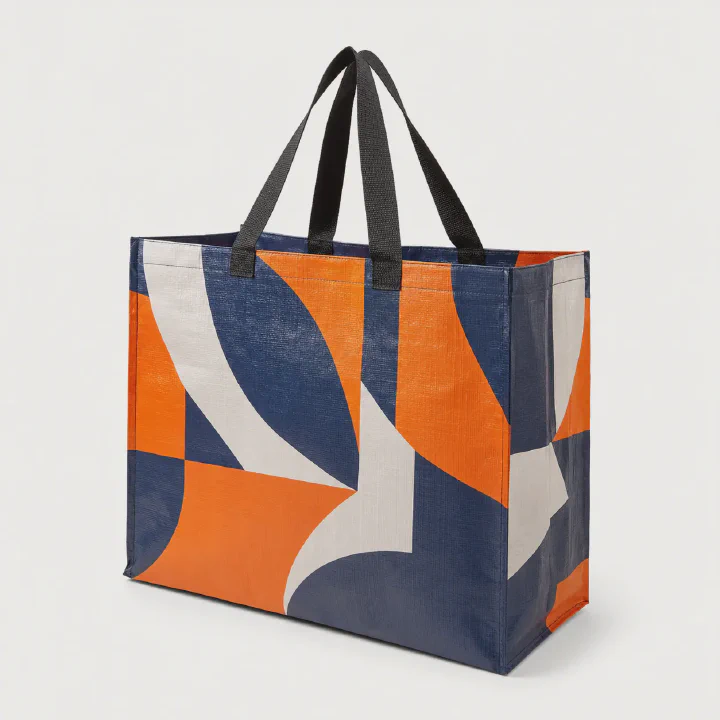
For detailed graphics, process colors, broad coverage or a more consistent retail appearance, artwork may be printed on film and laminated to the woven body. This route can support photographic detail and full-panel designs, but it adds decisions about film opacity, gloss or matte appearance, registration, lamination alignment and edge treatment.
The artwork also needs suitable bleed beyond the visible finished area. The exact allowance depends on the supplier’s converting template, so request the template before extending backgrounds to the edge.
Printed label or applied branding
A sewn label, heat-applied element or other applied branding may be used where a full printed body is unnecessary. Confirm label material, finished size, position, attachment method and durability. The label itself must not weaken a seam or interfere with folding and packing.
| Visual requirement | Likely starting route | Main artwork concern |
|---|---|---|
| Simple logo, one or few colors | Direct printing | Minimum detail and surface texture |
| Full-color campaign graphic | Printed film and lamination | Bleed, registration and color proof |
| Small brand mark | Applied or sewn label | Placement and attachment method |
| Variable identification | Label pocket or variable label | Readability and replacement access |
This table is a selection guide, not a substitute for supplier confirmation. Equipment, inks, films and converting methods vary.
Use vector artwork and control raster resolution
Logos, icons, text and line drawings should normally be supplied as vector artwork in AI, EPS or vector PDF format. Vector shapes can be resized without becoming pixelated and allow the prepress team to separate or adjust colors correctly.
Convert fonts to outlines in the approved production copy, or package the licensed fonts if the supplier must edit text. Keep an editable internal master with live text for future revisions. Outline conversion prevents font substitution but makes later wording changes more difficult.
Photographs and texture images are raster assets. Their effective resolution must be evaluated at the final placed size, not only by the original pixel dimensions. Enlarging a small online image across a large bag panel can produce soft detail even when the file looks acceptable on a laptop.
Do not place a screenshot of a logo inside a PDF and call it vector artwork. Zoom into the production file: true vector edges remain clean, while a raster screenshot reveals pixels or blur.
Build a panel-by-panel placement drawing
Every printable surface should be identified separately: front, back, left gusset, right gusset, top or lid where applicable. For each panel, state:
- finished panel dimensions;
- intended print dimensions;
- distance from agreed reference edges;
- artwork orientation;
- whether the design repeats, mirrors or differs;
- bleed and trim boundaries where required;
- safe area for essential text and logos;
- seams, folds, zipper, binding and handle exclusions.
Do not use phrases such as “center the logo” without defining the panel and reference area. The geometric center of a cut panel may not be the visual center after a gusset folds, a handle covers part of the graphic or the finished bag is filled.
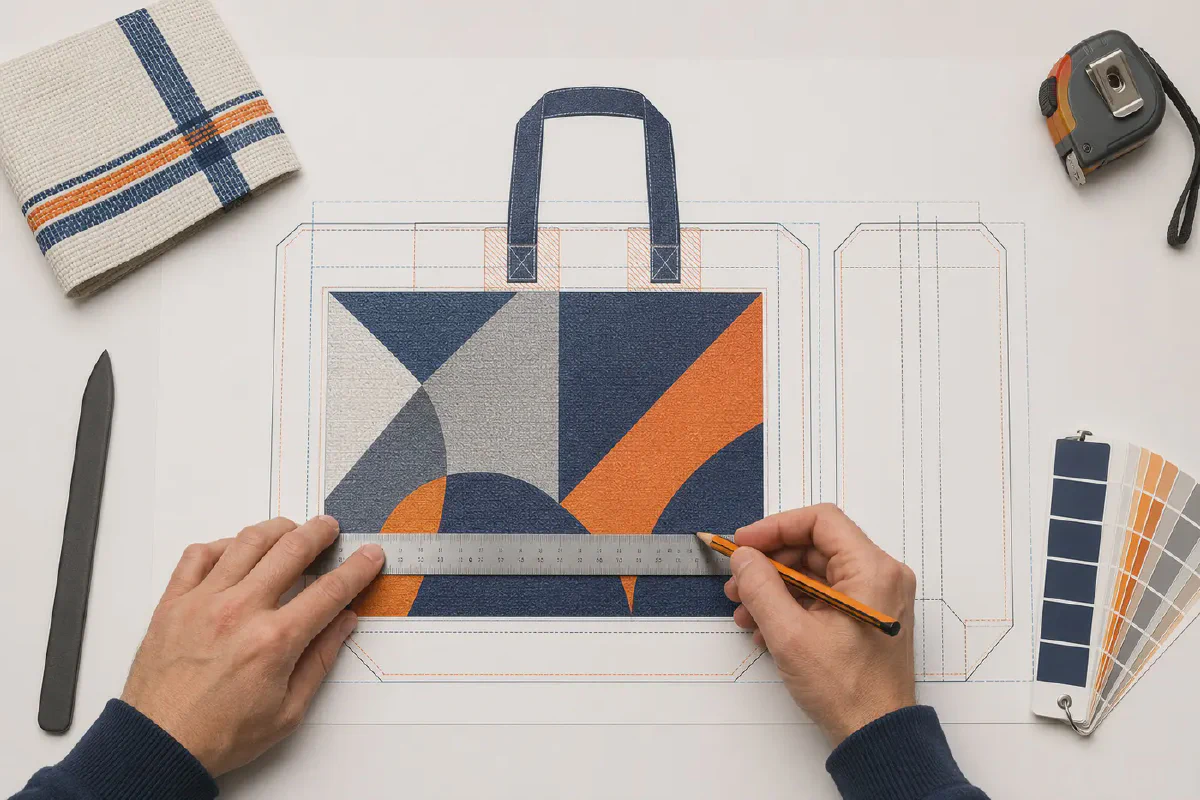
Keep important content away from construction zones
The bag is a three-dimensional sewn product, not a flat poster. Webbing, binding, seams and folds can cover or distort printed information. A side gusset changes shape when the bag opens; a zipper lid may curve; a wraparound handle can divide a front panel vertically.
Use the supplier’s construction drawing to create exclusion zones around:
- handle attachment and webbing paths;
- top binding or piping;
- side and bottom seams;
- zipper tape and closure folds;
- gusset fold lines;
- label pockets and reinforcement patches;
- eyelets, tabs or other hardware.
Keep logos, legal text, instructions, barcodes and QR codes within the confirmed safe area. Decorative background colors or patterns may cross some construction zones when the visual result is understood and approved.
How should color be specified?
RGB values describe colors for screens. They are not sufficient for physical printing. For production, define the color according to the selected method:
- named spot-color references for designated solid colors;
- process CMYK values for process printing;
- an approved printed drawdown, film proof or physical reference;
- an approved finished sample when the bag surface and lamination affect appearance.
Also specify whether the color applies to the printed graphic, woven body, binding, zipper or webbing. Matching different materials to one color reference can produce visually different results because their texture, gloss and opacity are not identical.
Agree how color will be viewed and compared. Brightness and color temperature in a warehouse differ from controlled inspection light. If brand color is critical, record the reference, viewing condition and accepted approval sample in the purchase specification.
Small text, line art, gradients and barcodes
Fine details must be checked at final size and under the selected process. The supplier should provide process-specific limits for positive text, reversed text, line width, gaps, screens and registration. Avoid making critical information dependent on the thinnest printable feature.
Gradients and transparency effects may require process conversion. Flattened effects should be reviewed carefully because unexpected color shifts or banding can appear after separation.
For a barcode or QR code:
- Generate it from the correct final data.
- Keep adequate quiet space around it.
- Avoid folds, seams, strong texture and curved areas.
- Confirm contrast between the code and background.
- Print it at intended production size.
- Scan the actual proof or finished sample with relevant devices.
A barcode that scans from a PDF is not automatically proven on woven fabric or laminated film.
Approve the right proof in the right order
A digital PDF proof is useful for spelling, panel choice, position, size and version confirmation. It does not accurately prove substrate texture, lamination gloss or final color.
A practical approval sequence is:
- Technical preflight: file integrity, dimensions, fonts, links and colors.
- Digital placement proof: panel, orientation, safe area and revision.
- Physical print proof: color, detail and process behavior where required.
- Pre-production bag: finished appearance, seams, handles, gussets and closures.
- Signed approval: revision and physical reference locked for bulk production.
The necessary stages depend on complexity and risk. A simple one-color internal-use bag may not require the same approval path as a high-coverage retail campaign bag.
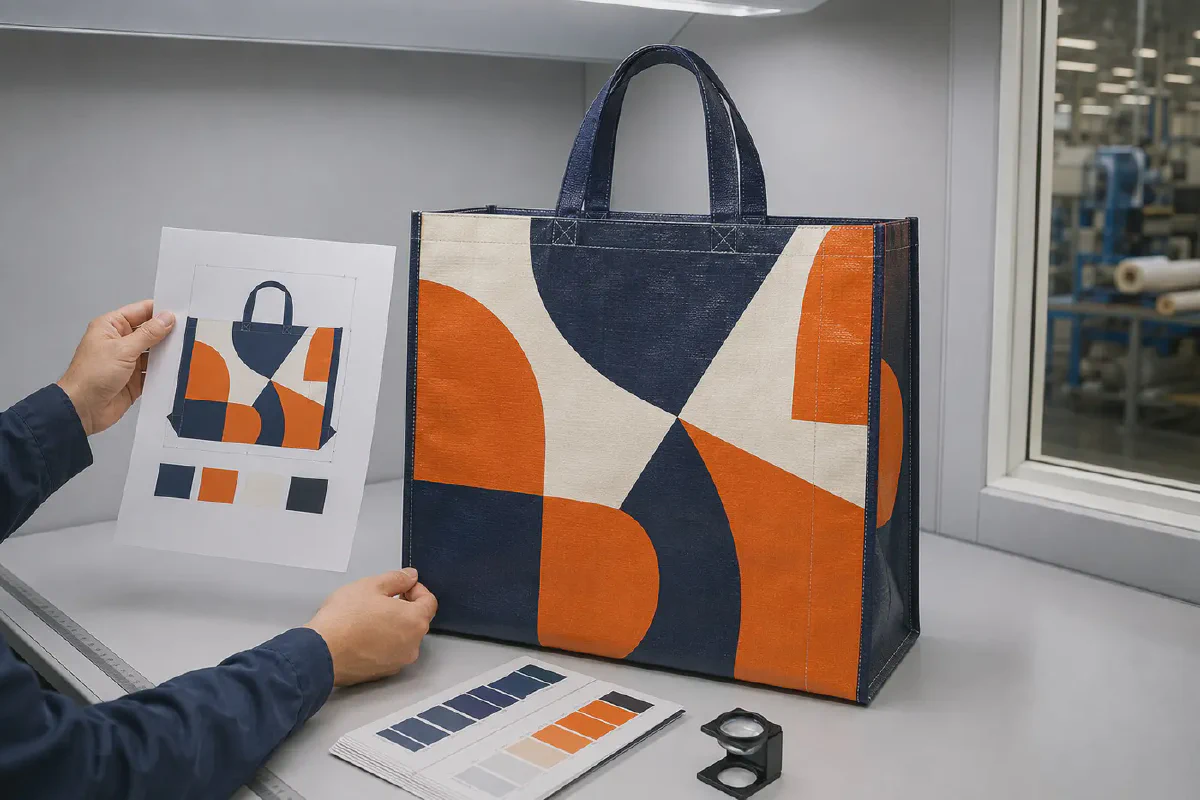
What should the pre-production sample be checked for?
Compare the sample against the signed artwork and construction specification, not against memory or a compressed chat image.
| Check | What to verify |
|---|---|
| Revision | Approved file name and revision match production |
| Content | Wording, numbers, symbols and orientation are correct |
| Position | Print location and panel assignment match the drawing |
| Size | Critical print dimensions are within agreed tolerance |
| Color | Agreed references and physical appearance are acceptable |
| Registration | Multi-color elements align within agreed process limits |
| Construction | Seams, binding, gussets and handles do not obscure content |
| Surface | Ink, film and lamination are consistent and well bonded |
| Functional codes | Barcode or QR code scans on the finished bag |
Photograph the approved sample from the front, back, sides and critical detail areas. Store it with the signed proof or an unambiguous retained-sample identifier.
Common artwork failures and how to prevent them
The wrong revision is printed
Cause: several similarly named files circulate through email or chat.
Prevention: use revision-controlled filenames, one approval channel and an explicit “approved for production” record.
The logo is covered by handles
Cause: the artwork was created without the handle path.
Prevention: overlay all structural components on the placement drawing and maintain a safe area.
Colors look different from the screen
Cause: RGB preview, uncalibrated displays, substrate color or gloss changes perception.
Prevention: define production color references and approve a physical proof under agreed viewing conditions.
Fine text fills in or breaks up
Cause: features are below the practical limit of the print method or woven surface.
Prevention: request method-specific limits, simplify details and inspect a final-size proof.
Front and back artwork are reversed
Cause: panel names or orientation were not defined.
Prevention: label each panel and include a rendered assembled-bag view.
A barcode is unreadable
Cause: insufficient quiet zone, poor contrast, distortion or placement over texture and folds.
Prevention: place it on a stable area and scan the physical production-intent sample.
Artwork submission checklist
Before releasing an order, confirm that the package includes:
- editable vector artwork and packaged raster assets;
- outlined or supplied fonts;
- the selected print method;
- named front, back and gusset panels;
- finished print dimensions and positions;
- safe area, bleed and structural exclusions;
- approved color references;
- final-size checks for small text and line art;
- barcode or QR scan test where applicable;
- dated revision and approval status;
- an agreed physical proof or sample procedure;
- bulk inspection criteria linked to the approved version.
Final recommendation
Treat artwork approval as part of product engineering. The print cannot be separated from bag dimensions, gussets, handles, seams, surface finish and conversion method. A compact but complete artwork package saves more time than repeated explanations after sampling begins.
For a fast and accurate quotation, send the bag dimensions, construction, quantity, print method if known, editable artwork, number of colors, required coverage and destination. The supplier can then confirm the correct template, process limits, proof route and production requirements before the artwork is released.